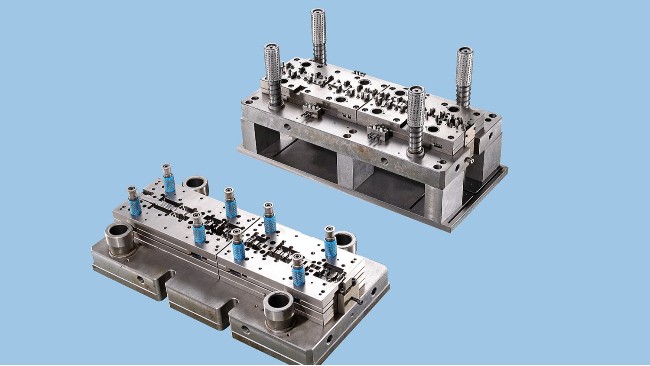
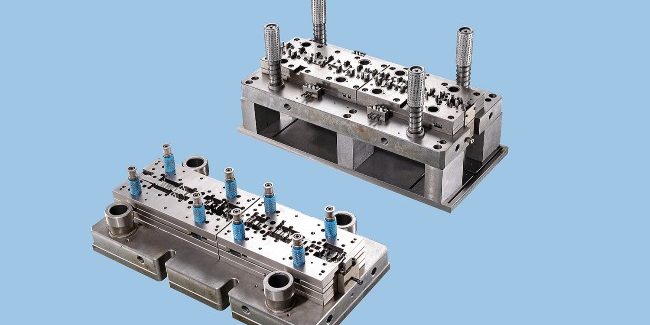
 The dimensional accuracy and tolerance of punch and die edge of stamping die will affect the dimensional accuracy of metal stamping products, and the rationality of clearance of stamping die is also related to it. Do stamping processing, to understand the punch and die cutting edge size, or can not do well, then let’s understand it.
Punching parts with taper section, bright belt is the part of measurement and use, the bright belt of the falling parts is in the large end size, the bright belt of the punching parts is in the small end size; The large end size of the falling parts is equal to the size of the die, and the small end size of the punched parts is equal to the size of the punch die. In the measurement and use, the large end size of the falling parts as the benchmark, punching aperture is small end size as the benchmark. In the process of using the die, the size of the punch edge will be smaller and smaller, and the size of the concave die edge will be larger and larger, leading to the gap between the convex and concave die, until the size is out of whack and can not be continued to be used.
Calculation principle:
- To design the blanking die, first determine the cutting edge size of the concave die: take the concave die as the benchmark, the clearance is taken on the punch, that is, the punching clearance is obtained by reducing the size of the punch edge.
- Design the punching die, first determine the punch edge size: with the punch as the benchmark, the clearance is taken on the concave die, and the punching clearance is obtained by increasing the size of the edge of the concave die.
- According to the wear law of the die in use, the basic size of the die should be close to or equal to the minimum limit size of the workpiece when designing the blanking die; When the punching die is designed, the basic size of the punch die is close to or equal to the maximum limit size of the workpiece hole. Die wear reservation is related to workpiece manufacturing accuracy.
- Blanking clearance generally choose the minimum reasonable clearance value.
- When choosing the manufacturing tolerance of the die edge, the relationship between the accuracy of the stamping part and the accuracy of the die should be considered, that is, the accuracy requirements of the stamping part should be ensured, and the reasonable clearance value should be ensured. The precision of the general die is 2 ~ 4 levels higher than that of the workpiece.
- For circular and square cutting edges with simple shapes, the manufacturing deviation value can be selected according to IT6 ~ IT7 levels. The manufacturing deviation of cutting edge with complex shape can be selected according to 1/4 of the tolerance value of the corresponding part of the workpiece.
- For the manufacturing deviation value with no change in the cutting edge size after wear, 1/8 of the tolerance value of the corresponding part of the workpiece should be qualified as (±).
- In principle, the workpiece size tolerance and the manufacturing deviation of the die cutting edge size should be marked as one-way tolerance according to the “in-body” principle. However, for dimensions that do not change after wear, bidirectional deviations are generally noted. The upper deviation of the falling parts is zero, and the lower deviation is negative. The upper deviation of punching parts is positive, and the lower deviation is zero.


